Configuration: vuNet - Android
How to Configure vuNet on Android
NOTE: Android devices come in a variety of versions with slightly different looks and feels and the exact sequence of buttons may be different or the names of boxes may be named differently. The process to configure is very similar, but you may have to interpolate the instructions. We have tried to give examples or descriptions of the differences.- Make sure your Android is powered on and WiFi in Enabled.
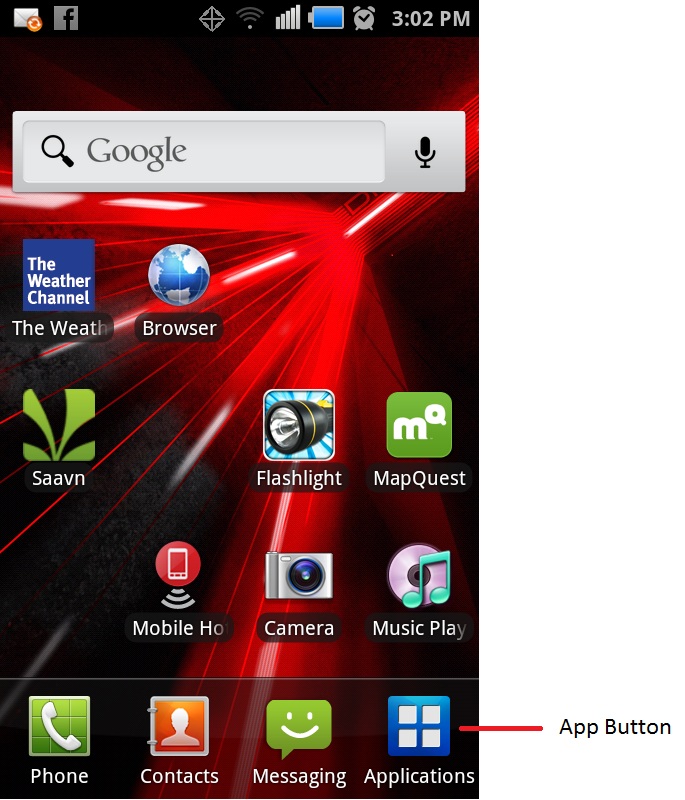
- From the Home screen, click on the Apps button. On some models, the App button will look like this

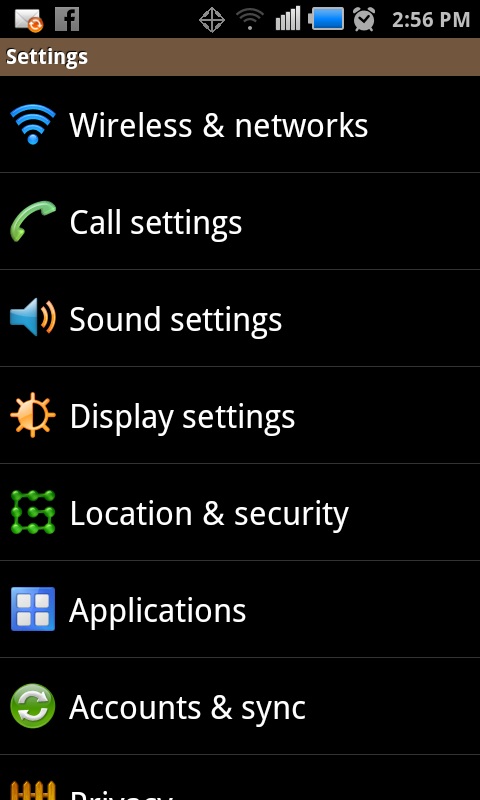
- If you have an application screen that looks different from the one below, click on the Settings app, then you should see the following screen
- Click on Wireless & Networks
- If you get a different screen from the one below, click on Wireless Settings
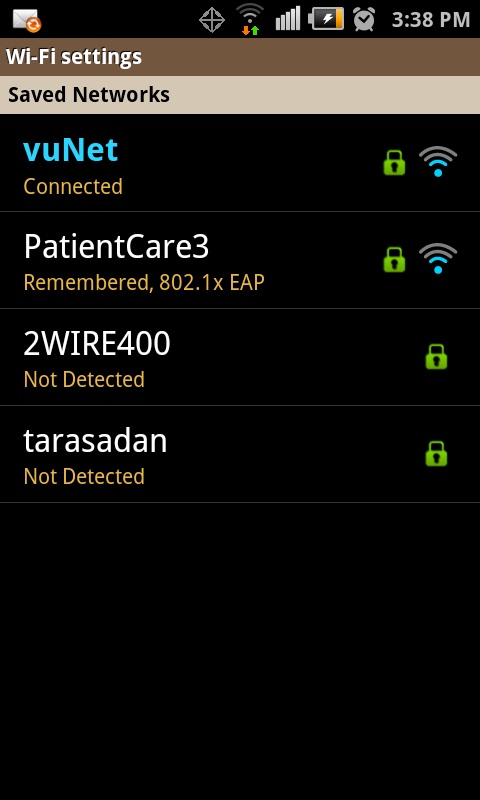
- You will now see a list of available and remembered wireless networks

- Click on vuNet
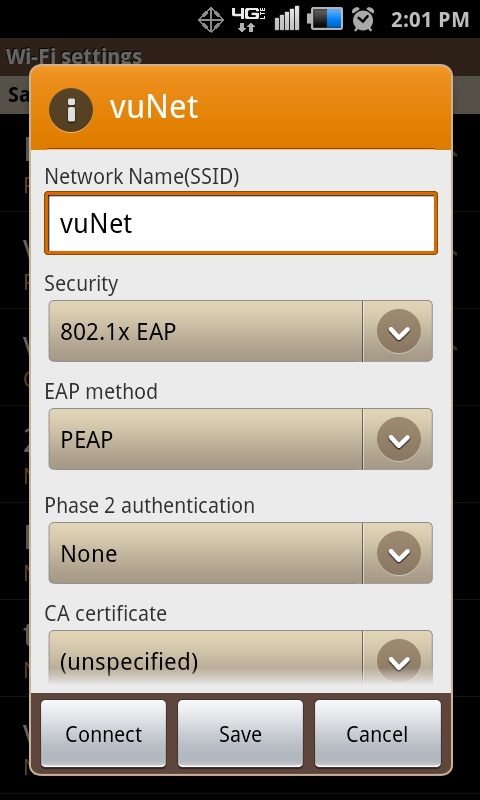
- If you are asked to select a Security type, select 802.1x EAP
- For EAP method, select PEAP
- If you are asked for Phase 2 authentication, select None
- For CA certificate, select "unspecified" (or CA certificate select N/A)
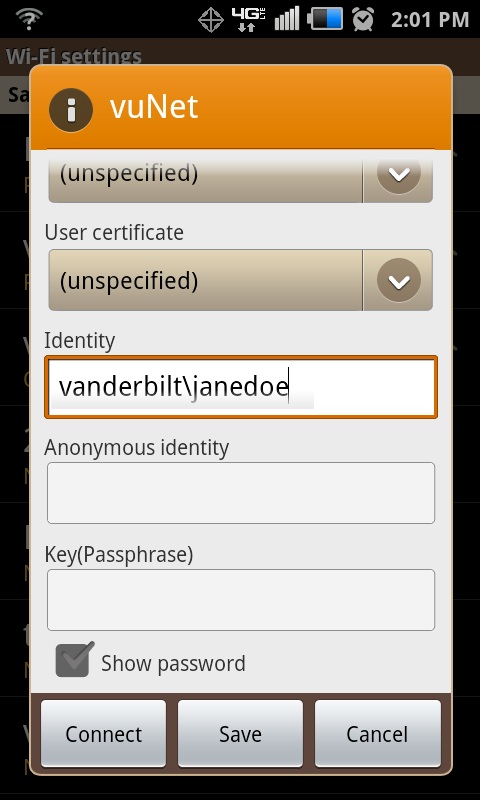
- For User certficate, select "unspecified" (or Client CA select N/A)
- In the Identity box, enter your vuNet ID. Be sure to add "vanderbilt\" before your vuNetID
Format for Username: vanderbilt+backslash+vuNetID
Example: vanderbilt\janedoe
- In the Key(PassPhrase) or Wireless password box, enter your ePassword
- Click on Connect
- Once connected, vuNet will show "Connected".
- Your device configuration is complete and you can exit the Wi-Fi setup page by pressing the "Home" button on the Android.
Configuration Tips
- If you are having problems connecting to vuNet with your vuNetID, try capitalizing the "V" in vanderbilt\JaneDoe.
Format for Username: vanderbilt+backslash+vuNetID
Example: Vanderbilt\janedoe