Configuration: vuNet - iPhone
How to Configure vuNet on iPhone
- Make sure your iPhone is powered on.
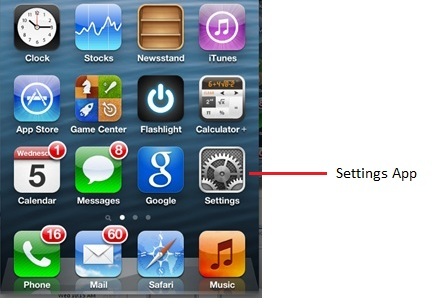
- Tap on the Settings App. A picture of the Settings App is shown below:
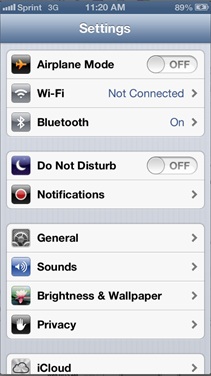
- Tapping on the Settings App will open up the Settings Window as shown below:
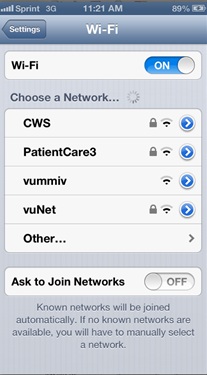
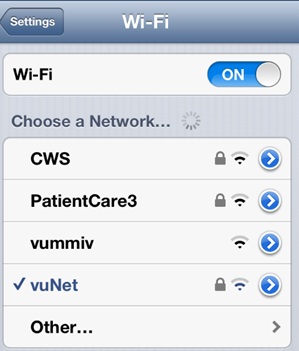
- Tap on the Wi-Fi category to open the Wi-Fi Setting window as shown below. Make sure that Wi-Fi is "ON".

- Select vuNet from the list of available wireless networks.
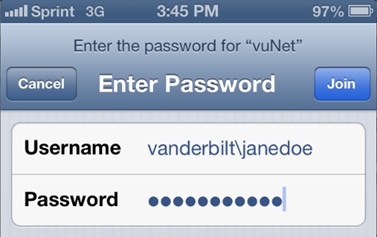
- Selecting vuNet will open up the Enter Password window as shown below:
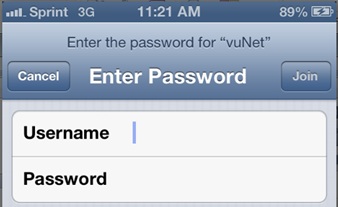
- Enter your vuNetID and ePassword with the Vanderbilt domain as shown below:

Format for Username: vanderbilt+backslash+vuNetID
Example: vanderbilt\janedoe
- After entering your credentials, Tap on Join to connect to the wireless network.
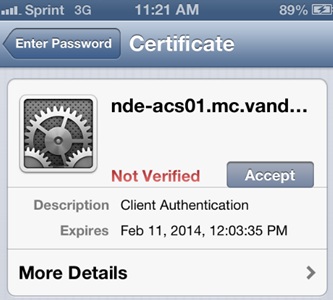
- You will be prompted with a Certificate page as shown below which you have to Accept to complete the connection:
- Once connected, vuNet will be displayed with a check-mark next to it as shown below:
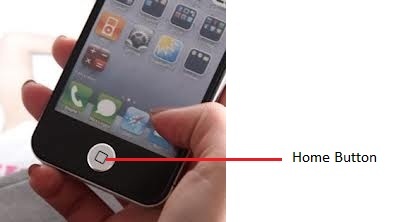
- Your device configuration is complete and you can exit the Wi-Fi setup page by pressing the "Home" button on the iPhone.
Configuration Tips
- Before you configure your device for vuNet, remove all existing VUMC SSIDs from your setup. For each wireless network (SSIDs - vummiv, PatientCare1, PatientCare2, PatientCare3), you will need to Forget those networks, turn your WiFi OFF and then ON or reboot before attempting to configure vuNet.
- When entering the domain name and your vuNetID, try capitalizing the V in Vanderbilt or enter all caps. This will resolve connectivity issues for some versions of Apple products. Ex. Vanderbilt\janedoe or VANDERBILT\janedoe